Connect to an existing repository
If you already have an application that you want to deploy to Amverum, but it already uses another git repository (GitHub, Bitbucket, or something else), you can link an additional remote to your repository.
Clue
To get acquainted with the principle of working with git, we recommend this article, which will simplify working with our service.
The address of the remote repository is located on the Repository page of the application.
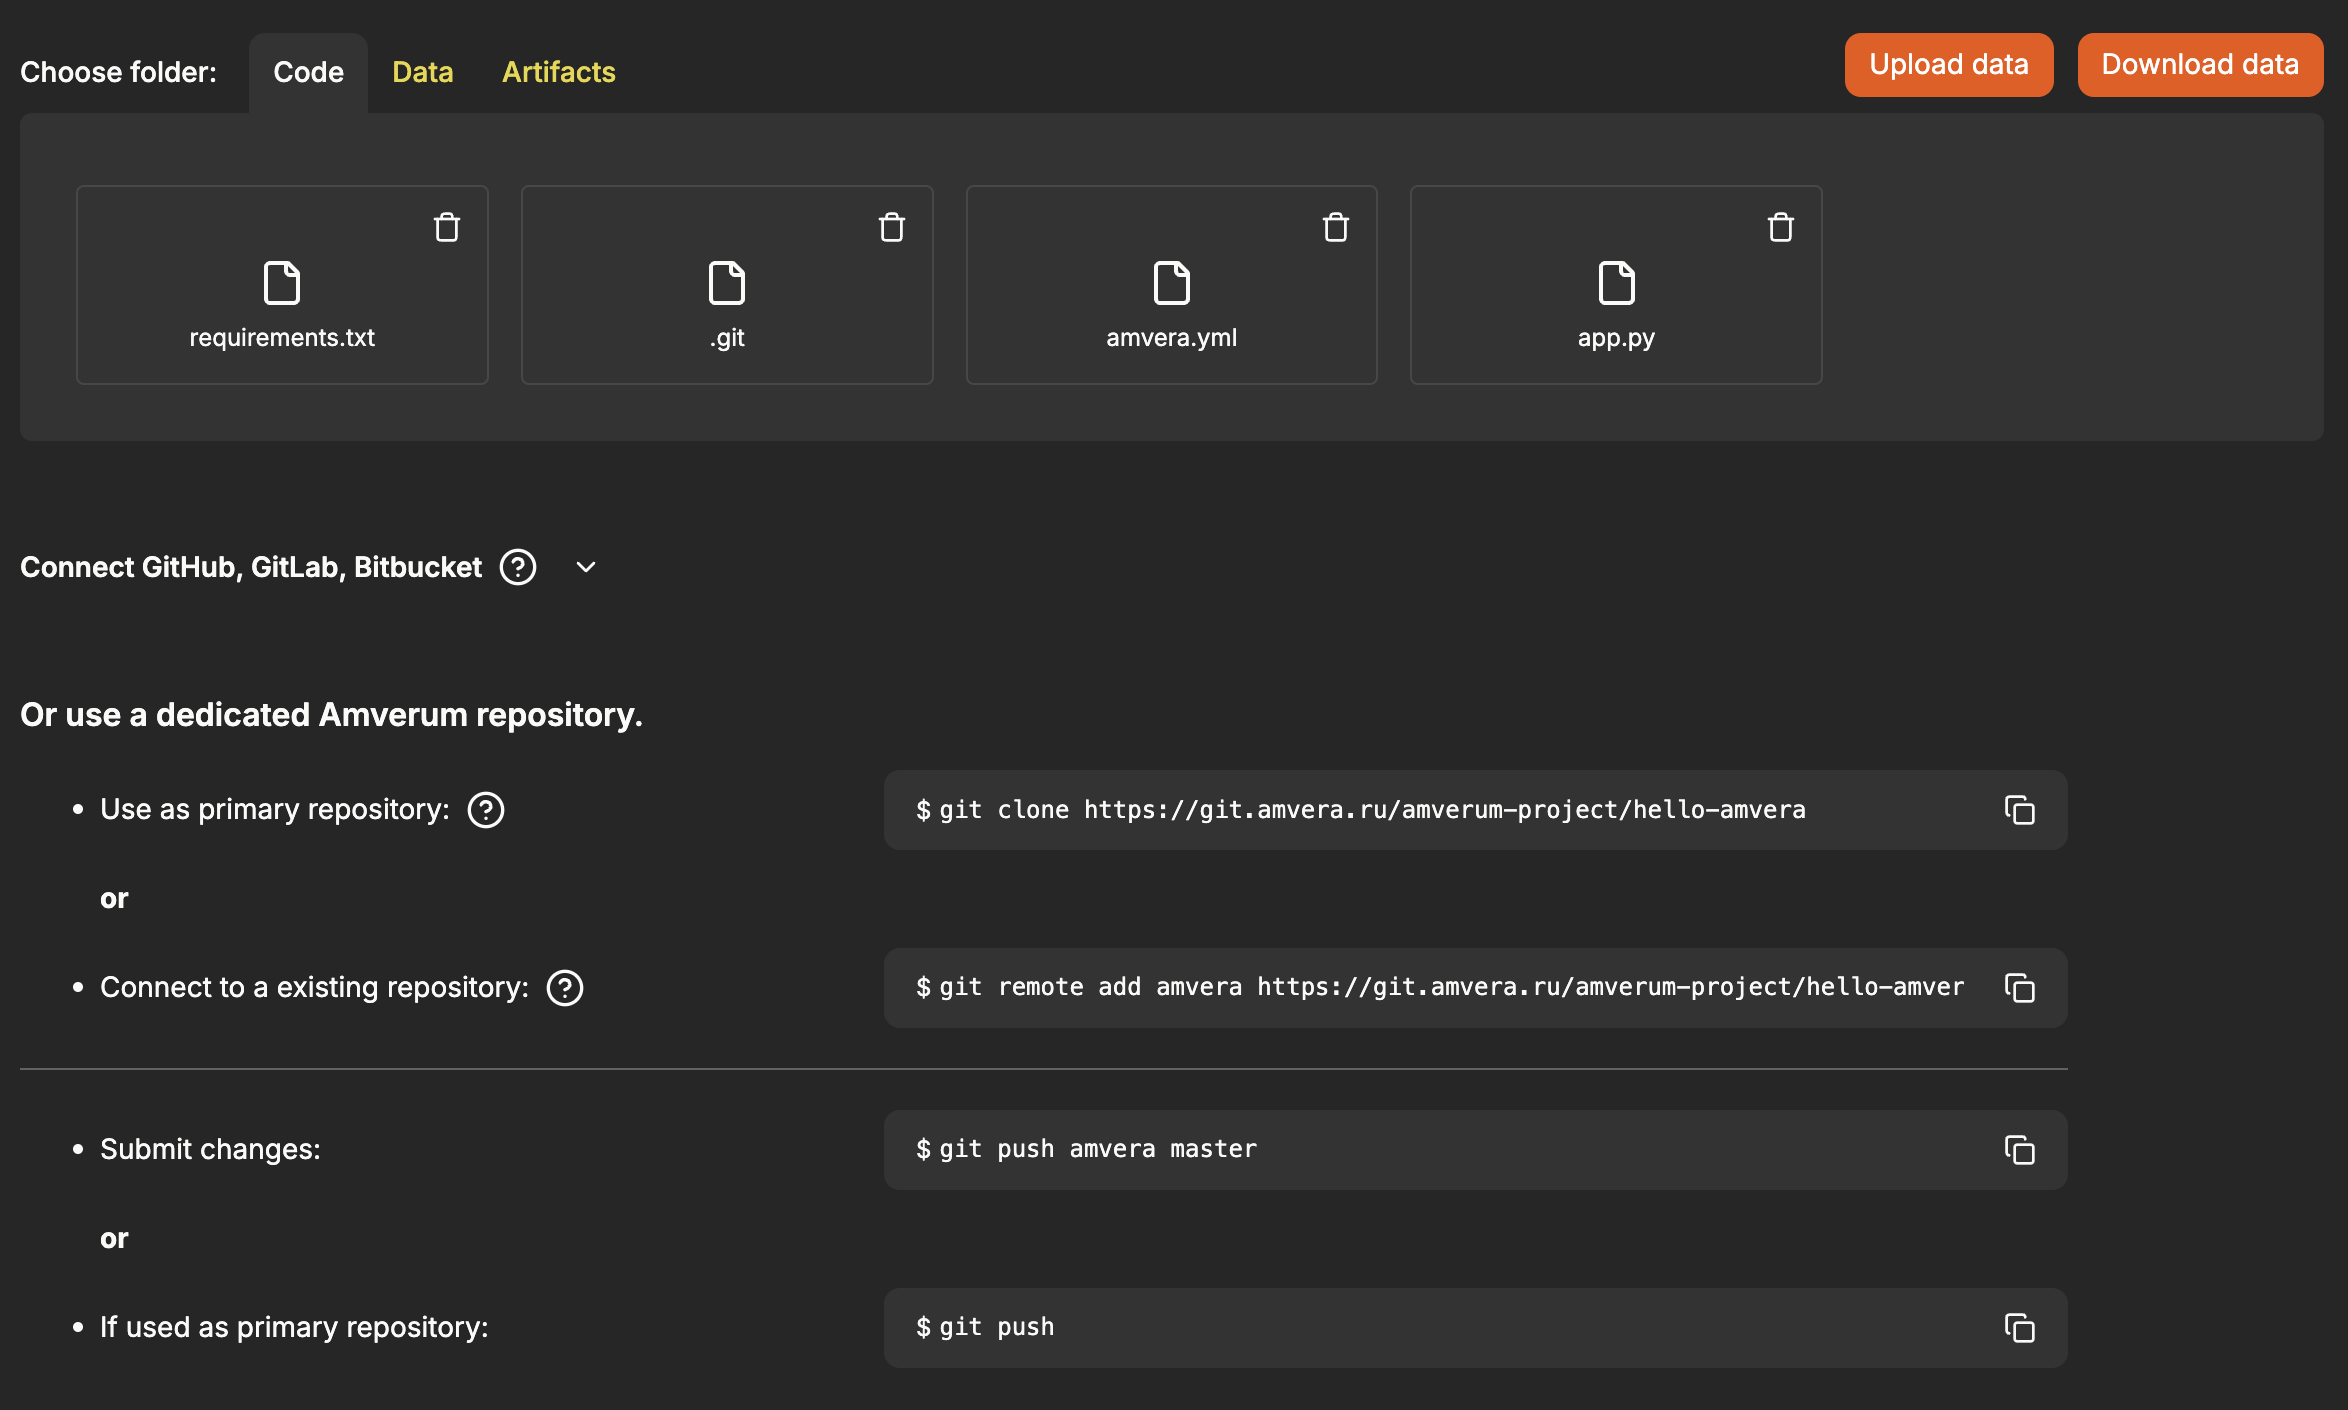
Connecting the repository
Open a command prompt and navigate to the root folder of your application project. Run the command:
git remote add amverum https://git.amverum.ru/<user-name>/<transliterated-project-name>
Populating the repository
In order to build and run the code, you need to have an amverum.yaml configuration file and/or a Dockerfile. We also recommend that you familiarize yourself with the process of building and deploying the application.
Project deployment
To initialize the process of building and deploying the application, it is enough to send changes to the Amverum repository.
git push amverum master
When prompted for a username and password, provide the username and password for your Amverum account.
Clue
Running instances of your project will not stop if a build error occurs and will continue to run.
Example
Call the terminal in the IDE where the application is open, or open the project folder in the terminal.
Initialize the local git repository with the command (if it is not initialized)
git initAdd a remote repository of our project (the URL of your repository will be different. To avoid syntax errors, copy the link in the second step of creating the project)
git remote add amverum https://git.amverum.ru/Your_Nick/Project_Name
Important
If you set the configuration in the interface, do not forget to do git pull (git pull amverum master) to synchronize repositories. If you do not want to synchronize repositories, then create yaml by link, add it to the root of the repository before the first push. In this case, do not add/set the configuration in the interface. Setting the configuration and adding files in the interface creates a commit, after which you need to synchronize the repositories when working through git.
Let’s add files and make the first commit.
git add .
git commit -m "initial commit"
Let’s push our code to the project repository
git push amverum master
When you want to update the project (you updated the code/configuration/dependencies), run the commands:
git add .
git commit -m "Description of changes made"
git push amverum master
Possible errors
If the main branch is not called master, but, for example, main, an error will appear when executing the command git push amverum master.
To avoid the error, it is enough to specify from which branch the changes should be pushed:
git push amverum main_branch_name:master
So, for example, if the main branch is called main, the command would look like this:
git push amverum main:master
To find out what the main branch is called (assuming you are on it):
git branch --show-current
Note
Other common errors when working with Git are collected at link
If you encounter an error or something is unclear to you
Check out the Frequent Errors section when working with Git