Storage and paths
When working with the application, the Amverum cloud uses three different folders to store user data. To properly organize the application and avoid data loss, it is worth carefully understanding the features of each of them and studying example.
Definition
Mounting a folder is the process of attaching a file system to a specific location in the file system hierarchy of a container. As a result of mounting, the contents of the selected folder become available for use within the container along the mount path.
Code
This is a folder controlled by the version control tool git. Its contents directly depend on what is committed in git
and what branch is currently selected. An analogy would be a git repository on a local computer. When you do git checkout
the contents change to match the selected branch.
The application code is loaded into this folder when executing git push or when loading via the interface with the Code folder selected.
The configuration file is also saved in this folder.
This folder is only available for loading code and at the build stage of the application, so during the operation of the application itself, there is no access to it and interaction occurs with the Artifacts folder.
Artifacts
This folder stores the result of the application build. So, if this is a Python project, it will contain everything that was in the Code folder + installed dependencies. For compiled languages, binaries are usually stored there, corresponding to the template specified in the configuration file (build.artifacts).
In the container in which the application is launched, this folder is mounted in the container folder /app. The command to launch the application
is also executed «from this folder» inside the container.
Since the contents of this folder are definitely obtained by assembling the contents of the Code folder, backups of this folder on the Amver side are not made. Moreover, the contents of this folder may be completely or partially lost when rebuilding the application.
When the project is frozen, the files from this folder are completely deleted.
For greater clarity, we recommend paying attention to the example at the end of the article.
Attention
You should not save data received during the application’s operation in this folder. It may be lost. Use the persistent storage folder „Data“.
Amverum is not responsible for the loss of files from this folder.
Data
This is a persistent storage folder that is mounted in the running container at the startup phase of the application at the path specified in the config file in run.persistenceMount (defaults to /data).
Clue
In the application code, the path to saving data to this folder must be absolute.
For example, for the default case /data, the path in the code will be: /data/<filename>
It is in this folder that you should store data that is collected during the application’s operation and requires permanent storage. If your application uses a sqlite database or saves logs that need to be stored for a long time, then such files should be located in this folder.
In addition to working with this folder from the application, it is also possible to upload/delete files using the interface.
Important
Loading data into this folder is only possible after the application has been successfully deployed at least once. This is because the folder is created at the application deployment stage.
Example
Let’s look at the specifics of working with folders and their paths inside a container.
Let’s assume your Python project contains the following files that are loaded into the
Codefolder:├─ main.py ├─ config.py ├─ amverum.yaml ├─ requirements.txt ├─ README.md └─ data ├─ users.db └─ logs
After the download and build process, the
Codefolder will remain unchanged, and the contents of theArtifactsfolder will be as follows:├─ main.py ├─ config.py ├─ amverum.yaml ├─ requirements.txt ├─ README.md ├─ data | ├─ users.db | └─ logs └─ venv ├─ lib_one ├─ lib_two └─ .........It contained the contents of the
Codefolder + avenvfolder was created, which stores the virtual environment with the necessary libraries specified inrequirements.txt.When the container is created, the
Artifactsfolder is mounted to the/appfolder, and the Data folder is mounted to the path specified in the configuration (let’s take the default/data).Inside the container for the running application, the paths will look like this:
├─ /data
|  ├─  persistant_users.db
|  └─ logs
└─ /app
   ├─ main.py
   ├─ config.py
   ├─ amverum.yaml
   ├─ requirements.txt
   ├─ README.md
   ├─ data
   |  ├─ users.db
   |  └─ logs
   └─ venv
      ├─ lib_one
      ├─ lib_two
      └─ .........
By default, the launch command is executed in the
/appfolder.Recording data.
Let’s consider two cases of correct and incorrect saving of files that require permanent storage.
Incorrect
If the code accesses the DB file with the path
data/users.db, and the logs folder with the pathdata/logs, then their absolute paths will be/app/data/users.dband/app/data/logs, respectively, which corresponds to theArtifactsfolder.When rebooting and rebuilding the project, these files may be lost.
Correct
We specify the absolute path to the file with the DB as
/data/persistant_users.dband to the logs as/data/logs. This way, the files are saved in theDatafolder and will not be lost during reboot or rebuild.(For advanced users)
You can specify the path to mount the
Datafolder directly inside the subfolder whereArtifactsare mounted. For example, mount to/app/data, then the tree will look like this:└─ /app ├─ main.py ├─ config.py ├─ amverum.yaml ├─ requirements.txt ├─ README.md ├─ data # this folder is no longer from Artifacts, but from Data | ├─ persistant_users.db | └─ logs └─ venv ├─ lib_one ├─ lib_two └─ .........Attention
Using this method requires an understanding of the principle of mounting folders and may lead to unpredictable behavior.
Working with files via the interface
To work with files, go to the «Repository» tab and select the desired folder.
Any action performed in the Code folder creates a commit in the git repository.

Loading
Uploading is only possible in the
CodeandDatafolders. To upload, you need to click the «Upload data» button and drag them into the window to make sure they are displayed in the list.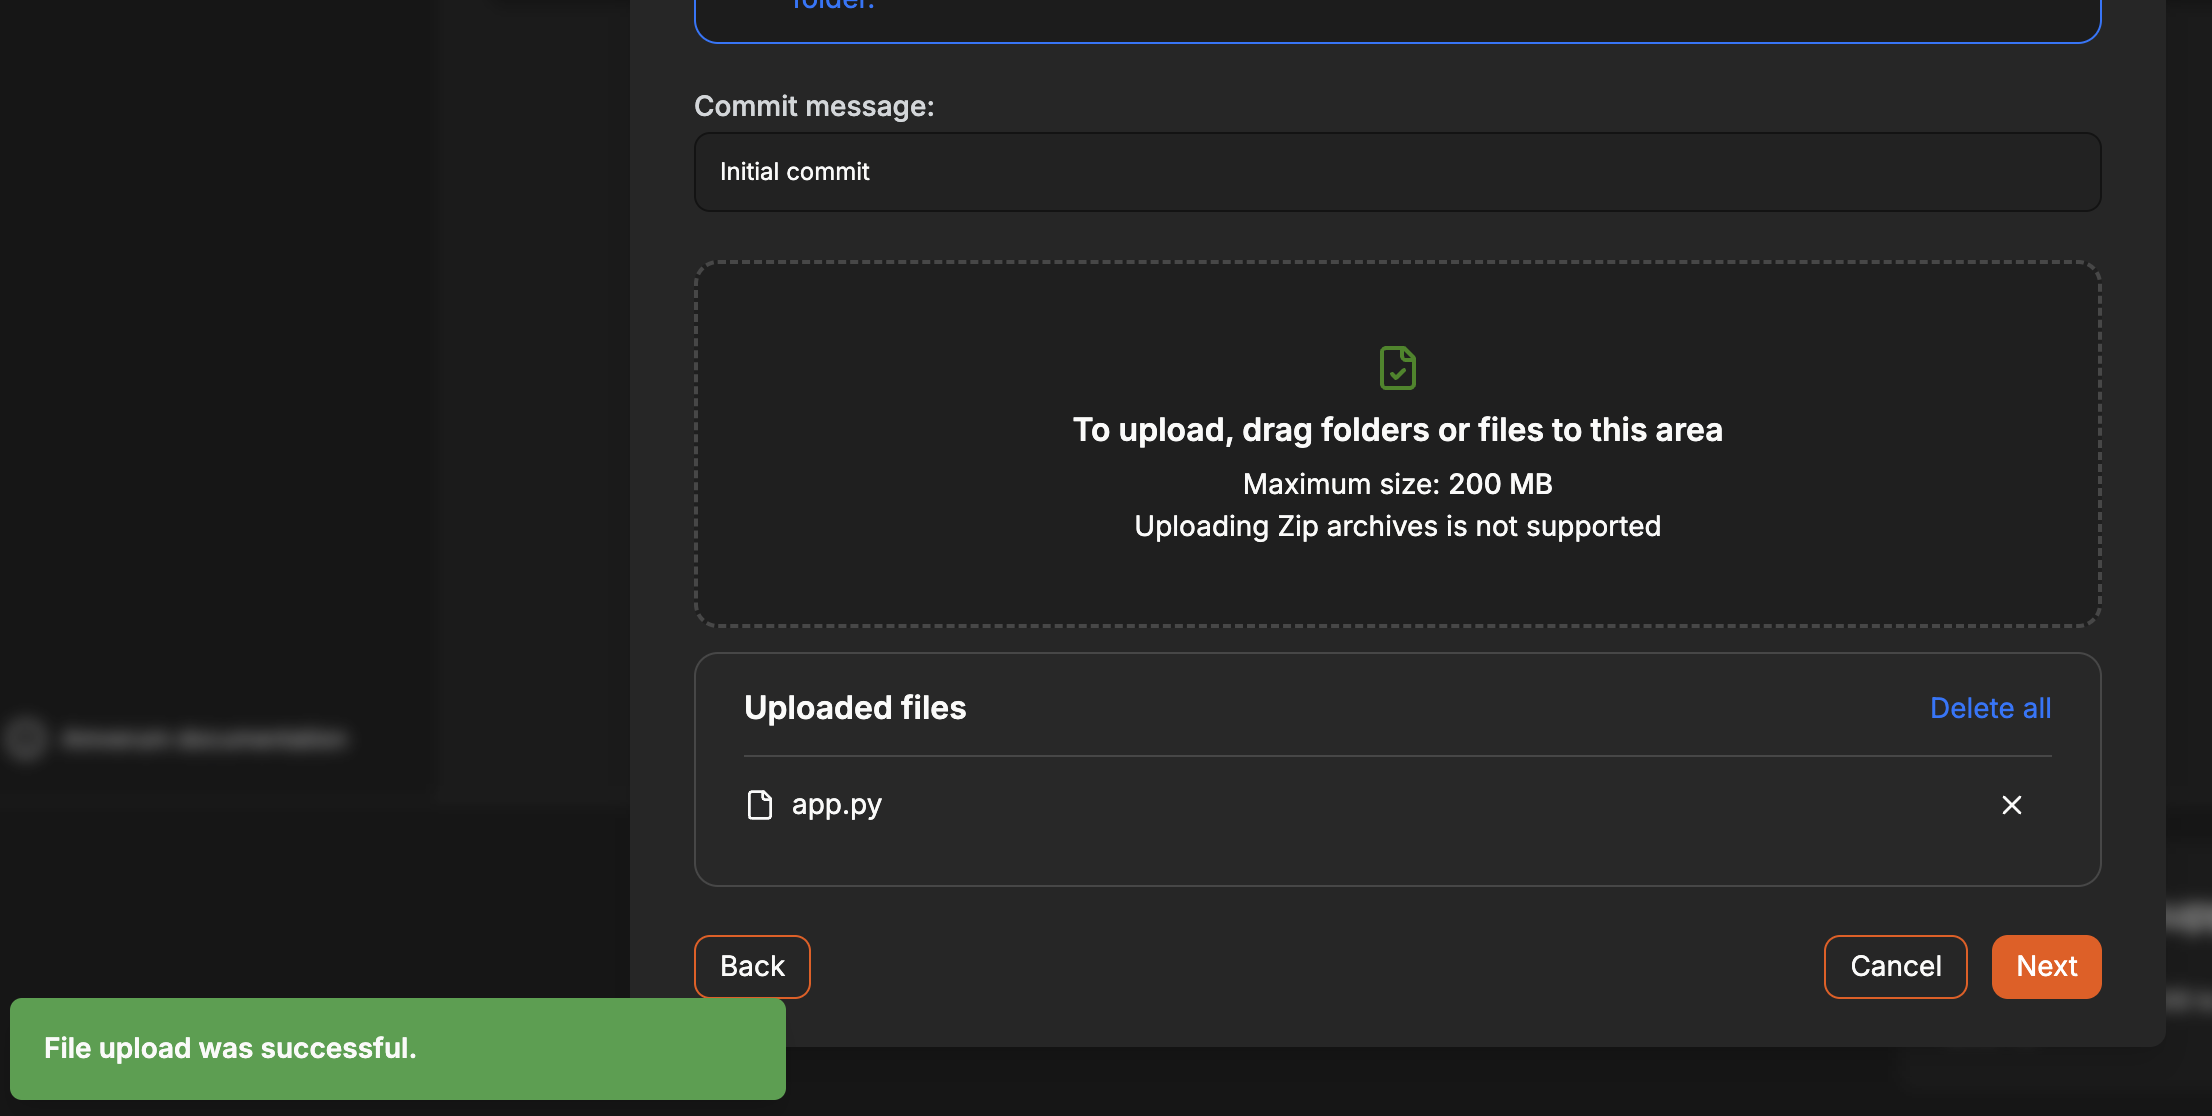
Delete
To delete a file, you need to click on the «trash can» icon in the upper right corner of the file/folder.
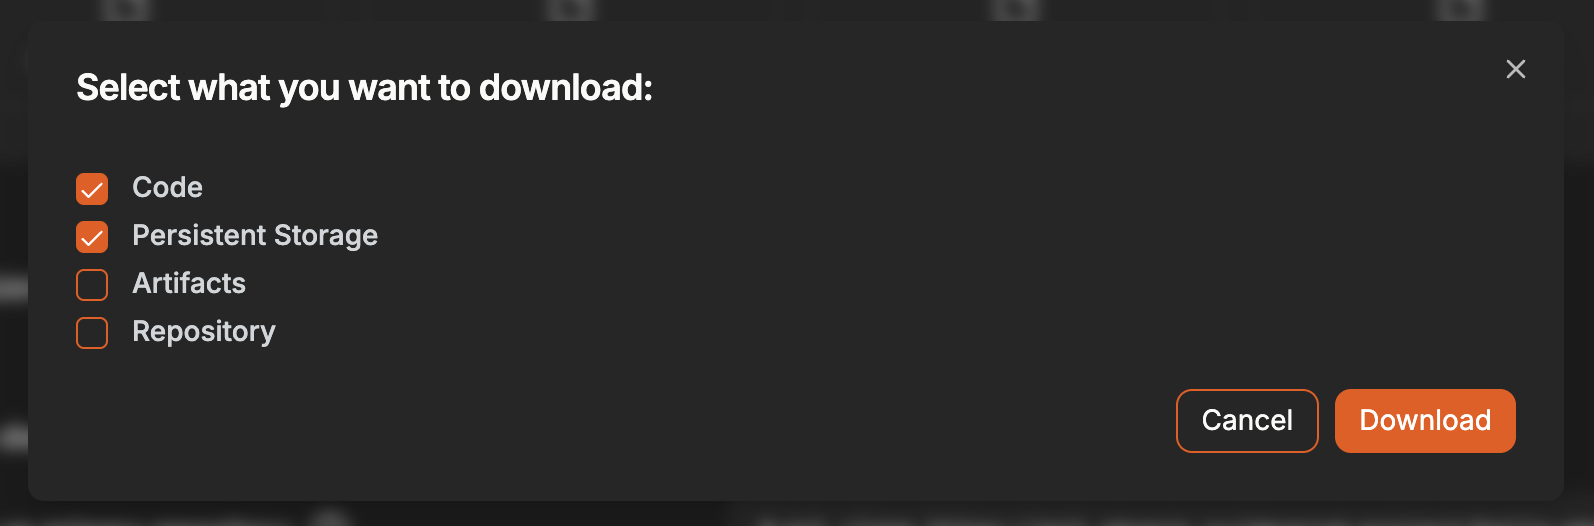
Download
To download files, you need to click the «Download data» button and select the folders whose contents you want to save locally.